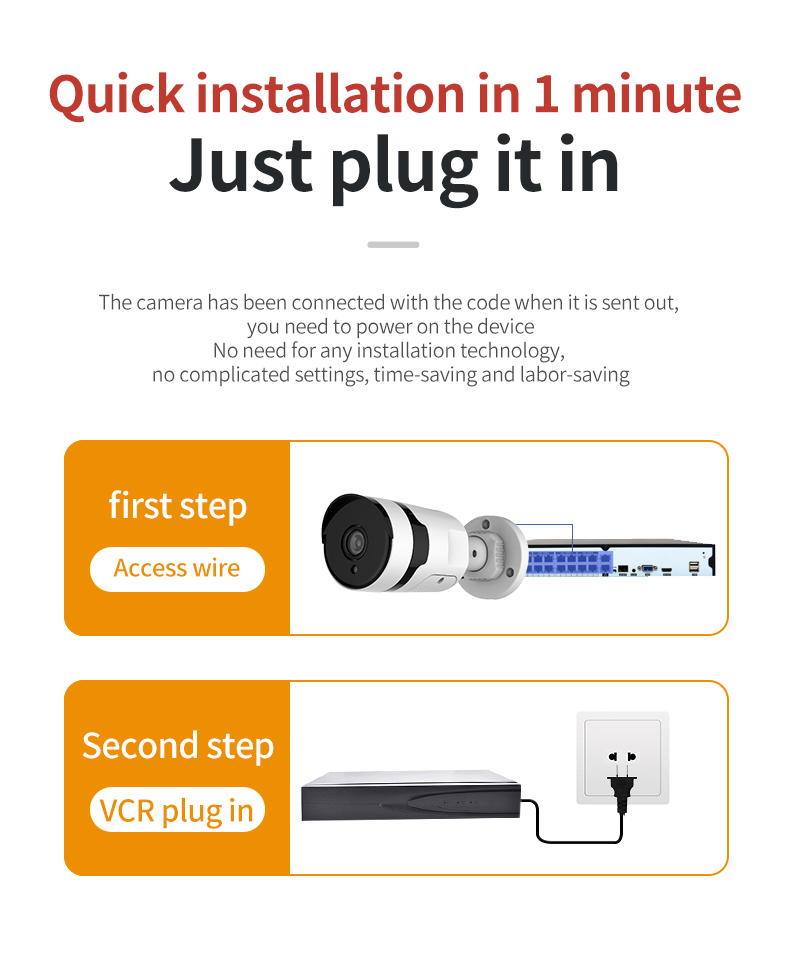
Installation steps of cctv camera:
First step
Take out the bracket and prepare the tools and parts: expansion plugs, screws, screwdrivers, small hammers, electric drills and other necessary tools; according to the predetermined installation position, check the size and model of the expansion plugs and self-tapping screws, and try the bracket screws and Whether the screw of the camera base is suitable, whether the pre-embedded pipeline interface is handled properly, test whether the cable is unblocked, and enter the installation procedure when ready.
Second step
Take out the camera, and carefully install the lens according to the determined camera lens model and specifications (the infrared integrated camera does not need to install the lens), and be careful not to touch the lens and CCD with your hands. After confirming that the fixing is secure, turn on the power and connect to the host or the site Use a monitor, small TV, etc. to adjust the focal length of the aperture.
Third step
Take out the bracket, expansion plug, screw, screwdriver, small hammer, electric drill and other tools
Install the bracket according to the location determined by the construction drawings. After checking the firmness, install the camera according to the design direction; (Before confirming the installation bracket, first power on the installation position to test it in order to obtain a more reasonable monitoring effect).
Fourth step
If there is a lot of dust outdoors or indoors, you need to install the camera shield. After the second step, install the shield directly from here. Open the upper cover and the rear baffle of the shield, pull out the fixed metal sheet, fix the camera, put the power adapter into the shield, reset the upper cover and the rear baffle, straighten out the cables, fix them, and install them on the bracket .
Fifth step
Insert the welded BNC plug of the video cable into the socket of the video cable (align the two notches of the plug with the two fixing posts of the video socket of the camera, and then rotate it clockwise after insertion), and confirm that the fixing is firm and the contact is good.
Sixth step
Insert the power output plug of the power adapter into the power socket of the surveillance camera and confirm the firmness.
Seventh step
Connect the other end of the cable to the video input port of the control host or monitor (video machine) in the same way to ensure firmness and good contact.
Eighth step
Turn on the power of the monitoring host and the camera, adjust the camera angle to the predetermined range through the monitor, and adjust the focal length and definition of the camera lens, and then enter the adjustment process of video equipment and other control equipment.


